
A few years ago I had a guide up on the mc ti fab site, showing how I padded/taped flared drops for my own use and for customers who were interested. I recently dug up all the old photos in order to give a primer to a customer and he sagely suggested that I should put it back online. So I am.
There are a few caveats though.
Flared handlebars of any kind sometimes don't jive with people's ulnar nerves. There are some reasons for this. First is physiology. Just like certain saddles might cause some discomfort/numbness/burning in the gentleman's or ladies' department, there's a small number of folks that they just won't work for. This number is smaller than some might think though, as there are a few nuances about their setup that don't always get applied...resulting in a less than excellent experience and a subsequent chucking.
I've written a ton about this stuff elsewhere on this site and in the past (e.g. 63xc) so I won't bore you with all that. However, all the padding in the world will not help you if you don't have the bars at least in the ballpark as far as cockpit length and bar height. I'm sorry to say that most of the time, at least with stock conversions of 'normal' MTBs and 'cross bikes, it isn't unless there's a little help from your own physical characteristics (long arms, short legs, etc.). You also need to be mindful of how the angle of the bar is set. The hooks should be angled in such a way that you have the broadest platform for your hand when riding in the drops. Normally this ends up having the tips of the bars pointing somewhat near the rear dropouts...an angle anywhere from 10° to 25° from level. You have to figure all of this out before you bolt up brake levers (set for maximum braking ability from the drops) and then do your taping/padding.
This is all important, but there's really no substitute for getting yourself in shape. Nothing makes a bigger difference in how you feel and fit on a bike. Get your body weight down, your flexibility up, and your breathing dialed (which helps with the weight issue as well). Core strength helps too, and it doesn't take a gym membership or branded exercise routine to augment this...just simple things that you can do consistently in a short amount of time, eventually allowing you to incorporate it into your life like brushing + flossing your teeth. There's tons of information out there, don't worry about "best" or "most effective"...that's all subjective anyway and doing something beneficial consistently and eating a bit less always trumps sporadic stabs of "awesome workout" and "super diet", especially for your long term well-being. I say all this as someone who has been very light and pretty fit as well as being pretty overweight and inactive after a serious accident. The difference between the two is day and night in terms of motivation and mental health...the opposite poles seem like a distant dream to each other.
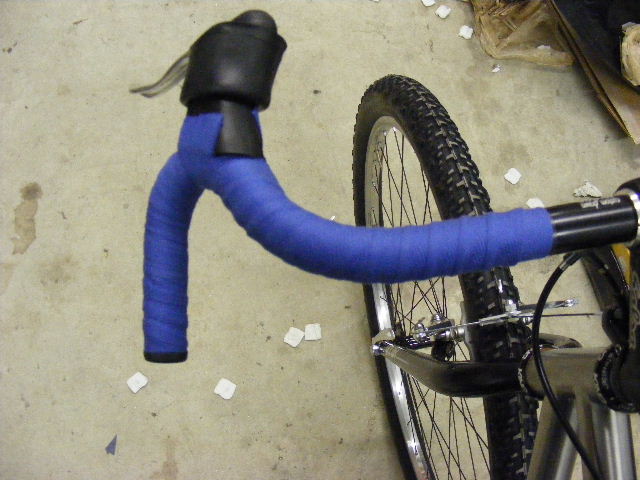
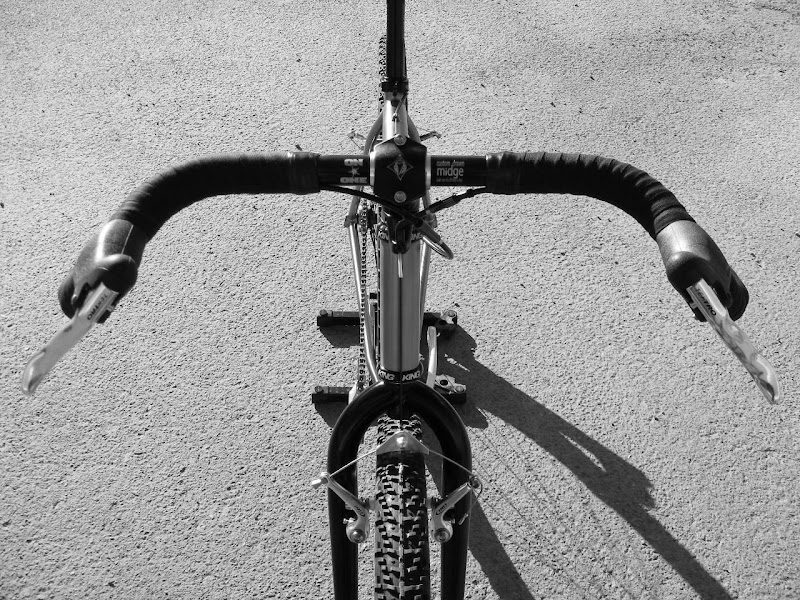
Once you have your bar and levers set to your liking, do a single wrap of bar tape like normal. I used cotton tape here, since that's what I generally have around. It always pays to be neat but this layer doesn't have to be perfect, it'll be covered up. I think I did two layers, I don't remember (these photos are from 2008). This is also the place to use that bar tape you have that maybe isn't as off-road friendly (e.g. cork or something else cushy). Note the rubber Velox bar end plug. These may be decried as "heavy" or "retro" but there's a reason for using them (or any other squishy plug). A good flared drop setup will often result in the end of the bar coming in direct contact with the top tube, depending on rider preference and setup of course. In fact, on most of my flared drop specific bikes, the end of the bar will squarely hit the top tube...always with On-One Midge bars and to varying degrees with other drops that have longer hooks. This isn't such a big deal with a straight gauge titanium frame but could really cause some damage on a thin-bellied butted steel tube, aluminum, or carbon if you don't cushion the blow a bit.
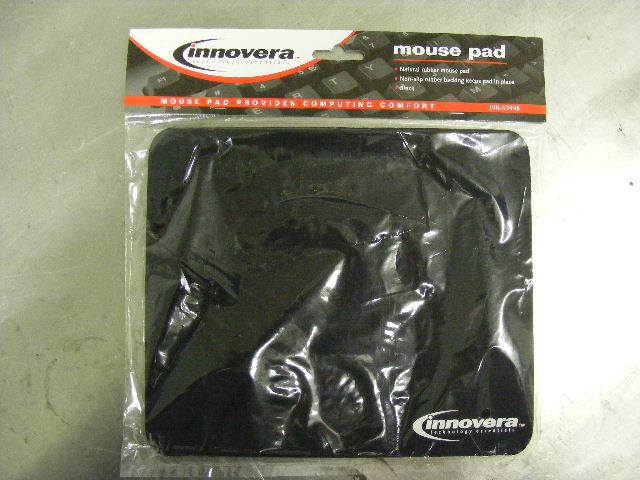
Purchase a old-style mouse pad, the kind that is mostly foam rubber with a slippery top, dirt cheap from your local office supply store.
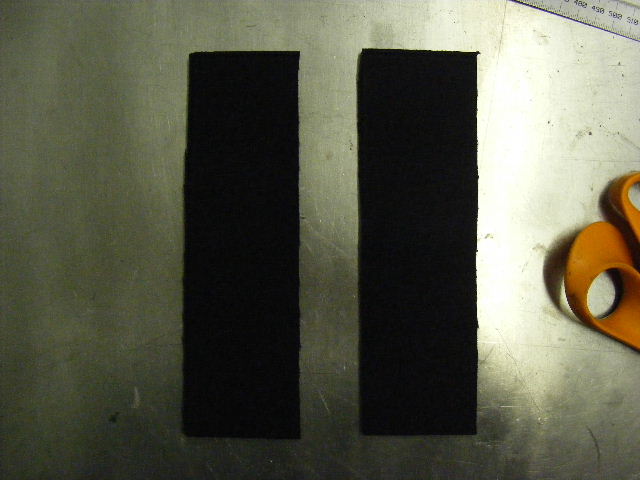
Cut two strips from the mouse pad using a good pair of scissors. They need to be around 55-57mm wide. I've found this to be a good width to allow for cushioning while still allowing adequate, firm purchase on the underside of the bar for climbing and for keeping the overall diameter of the bar down. More on that later.
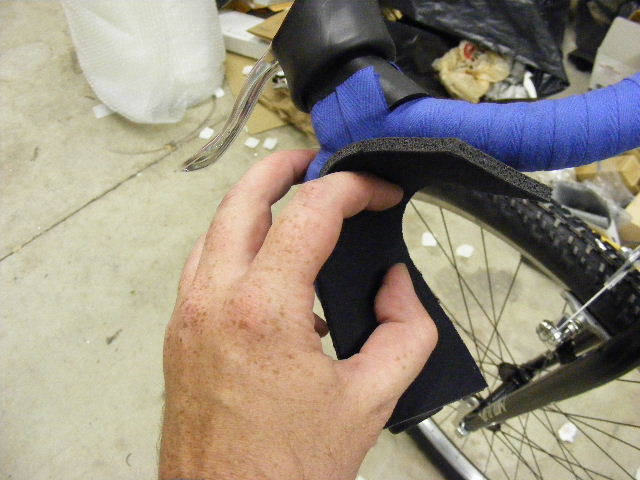
Place your strip in the hook of the bar, having the bottom edge flush with the end of the bar (not the plug) and then determine where you want to trim the top edge of the pad. I usually set it to end just below the brake lever clamp.
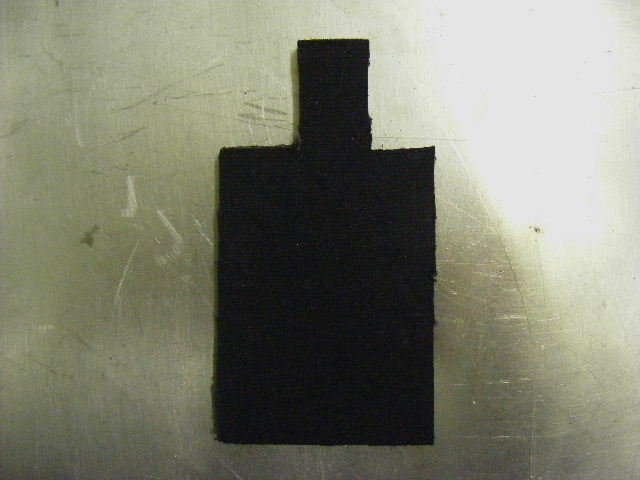
The length of your pad is of course dependent on the bar you're using. It's a Midge bar in this pictorial, your pads will be longer when using a Salsa Woodchipper or Ragley Luxy bar...depending on if you've trimmed the ends on them of course. Anyway, once you have your pad length, trim about 1/3 of the width off each corner, leaving a block of about 20mm wide at the top. It doesn't have to be neat, as evidenced by my hack job above. It's also better to maybe cut away too much than too little as this material removal is for finger clearance, allowing better access to your brake lever and a little better grip on the bars where it is important.
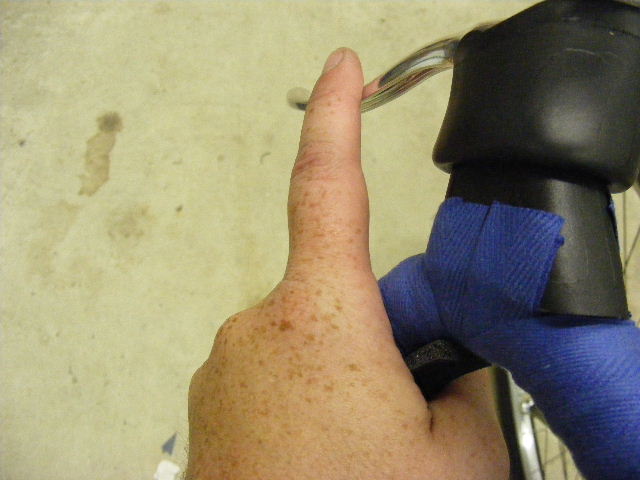
Finger clearance in action.
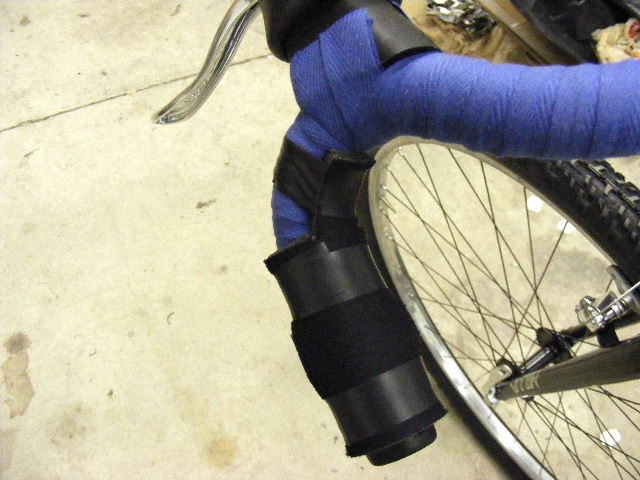
Once you're happy with your pad shape, make a mirror image one for the other side of the bar and then tape them in using good quality, stretchy, matte finish electrical tape...not the cheap shiny inflexible crap. Note that your top square is flexed over to follow the flare of the bar.
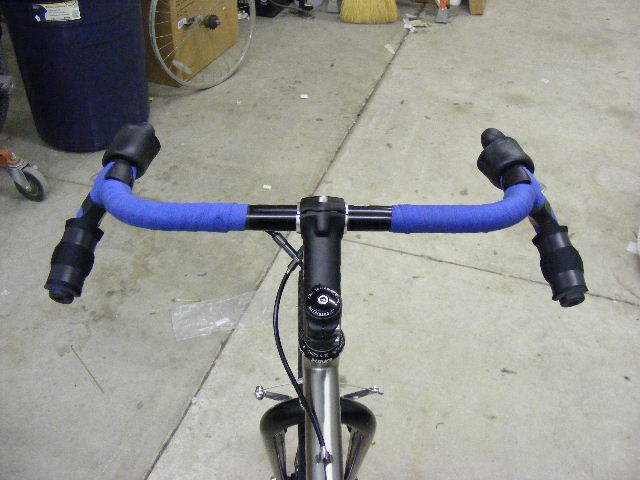
Both pads taped in.
Now finish your taping. I use two layers of cotton tape, mostly because it's the only thing that really holds up to off-road use and the usual bike dropping, scraping and crashing. It's also good as you can pull it really tight as you wrap (you pretty much have to so it doesn't look like shit). I find that just about anyone can ride the combo of one layer of cotton tape + pad + two layers of cotton tape as long as the right lever is selected for hand size. You can't go nuts with thickness as it can cause problems, especially for riders with smaller hands. I have really long hands and I had issues with straining the tendons in my arms reaching for the lever when I was piling on the padding over the course of my short time at the Great Divide Race...a ride I had no business being on due to my lack of fitness amongst other issues, that's a story for another time though. Another thing that you're going to find is that you're going to run short of tape as these bars are already big and wide compared to traditional road bars...especially in the case of 46cm Woodchippers and Luxy bars. That's why I suggested getting the fancy electrical tape as you may find that you're having to wrap your finishing tape a little wider depending on your bar, tape, and wrapping technique. With the Midge above, it didn't require anything too crazy. It'll make road traditionalists cringe, but your bike probably does too so 'oh well.'
That's it!
